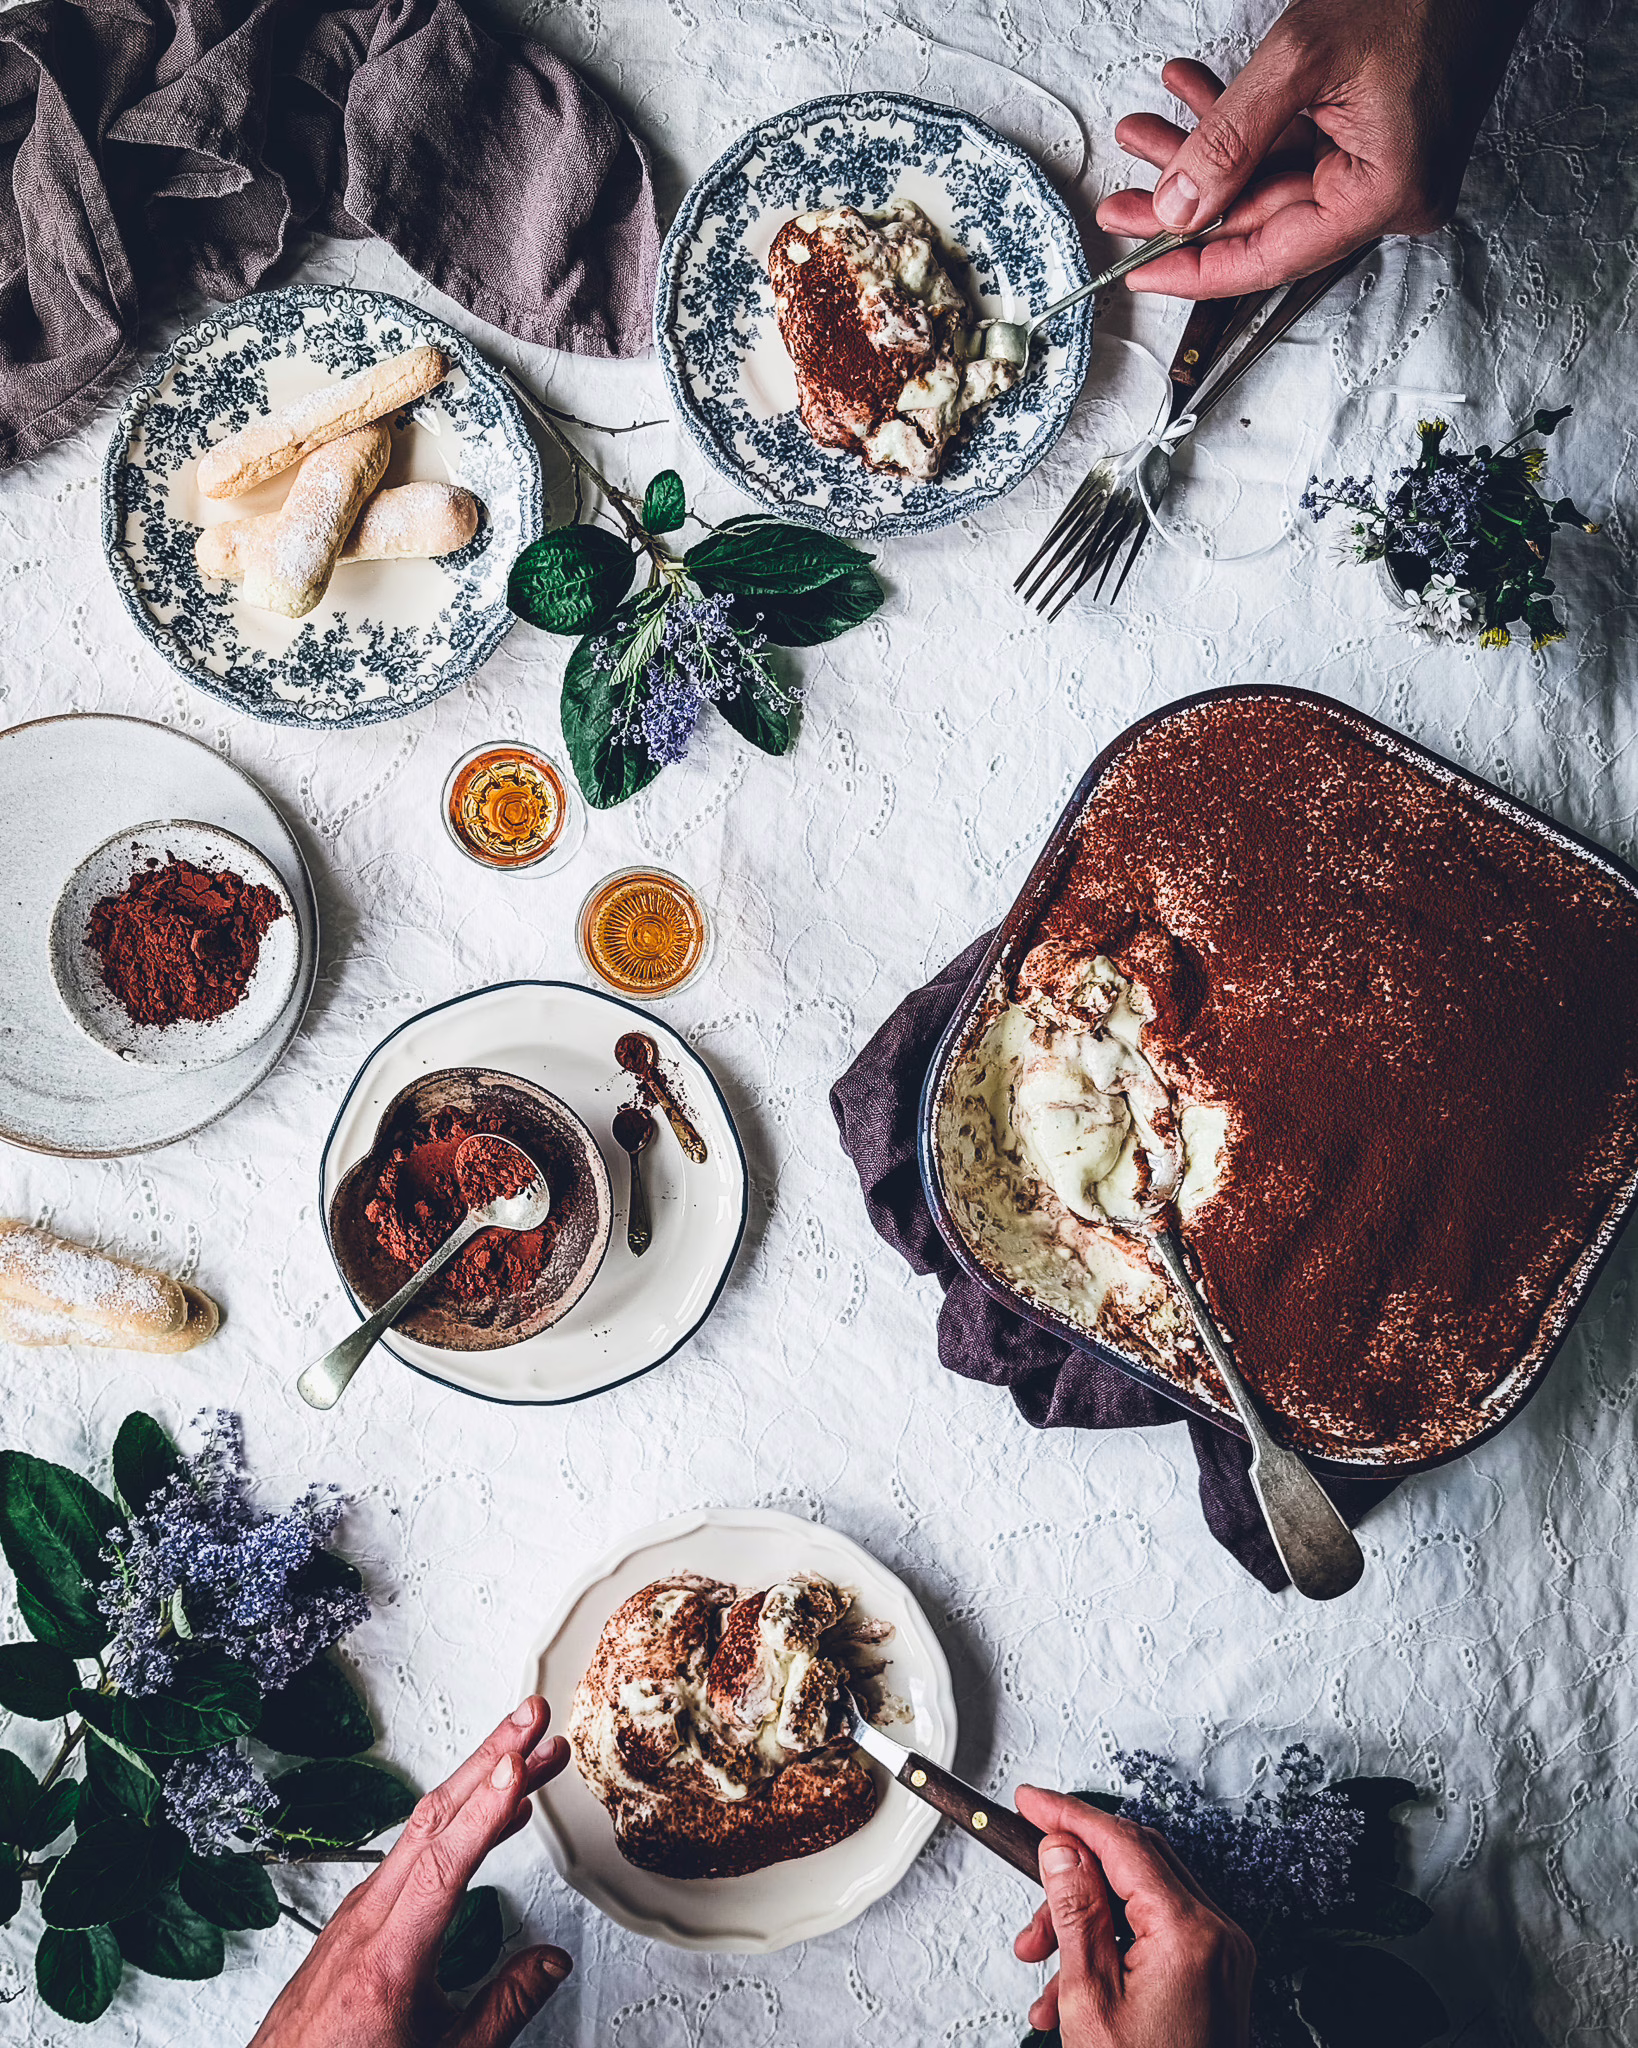
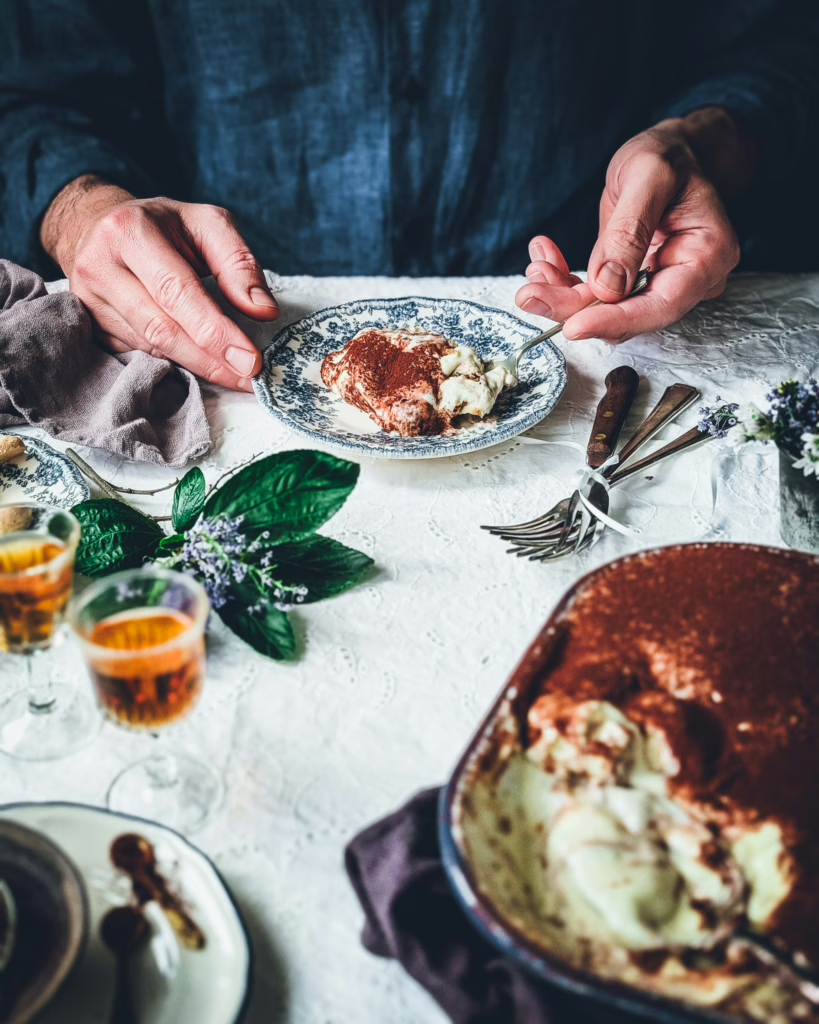
In Venice and across the Veneto, tiramisù isn’t just a dessert — it’s a celebration cake. Birthdays, Sunday lunches that stretch into the evening, any occasion that called for something a little abundant… tiramisù was always there. It was the cake you made at home, the one you assembled with your parents, the one that made you feel part of the celebration because your hands helped build it.
Both of us grew up with this. Coffee cooling on the counter. Mascarpone softening in a bowl. Cocoa waiting in the cupboard, for the finishing touches. There was nothing elaborate about it — no piping bags, no decorations, no fuss. Just simple ingredients, a bit of patience, and the joy of making something with our mums. But there was also the pressure of getting the dipping right: not too much, not too little. Which, according to our mums, takes years to master.
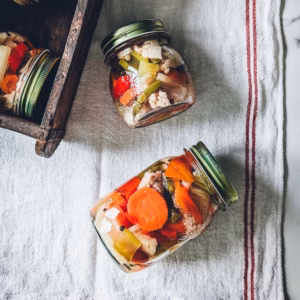
In both our families, money was often tight, but we remember that on some occasions they would stretch the mascarpone just a little — adding an extra spoonful of cream to make the day feel special. That small gesture, making something humble feel abundant and generous out of nothing, is at the heart of Venetian home cooking.
A recipe with roots in Treviso (and in our families)
It’s widely recognised that tiramisù was born in Treviso, and apparently the earliest versions didn’t include whipped egg whites. They were richer, denser — more spoon-dessert than cake. Over time, every family in the Veneto developed their own version, and ours is the one we grew up with, the one our mums made, and the one that feels like home to us.
The proportions for our mascarpone cream came from one of Agnes’ parents’ neighbours. She once brought tiramisù to a celebration, and Agnes fell so deeply in love with it that she begged her mum to ask for the recipe. Those proportions have stayed with us ever since — simple, balanced, and exactly what a Venetian tiramisù should taste like: creamy but not heavy, sweet but not overly so, with the coffee shining through without overpowering the delicate cream.
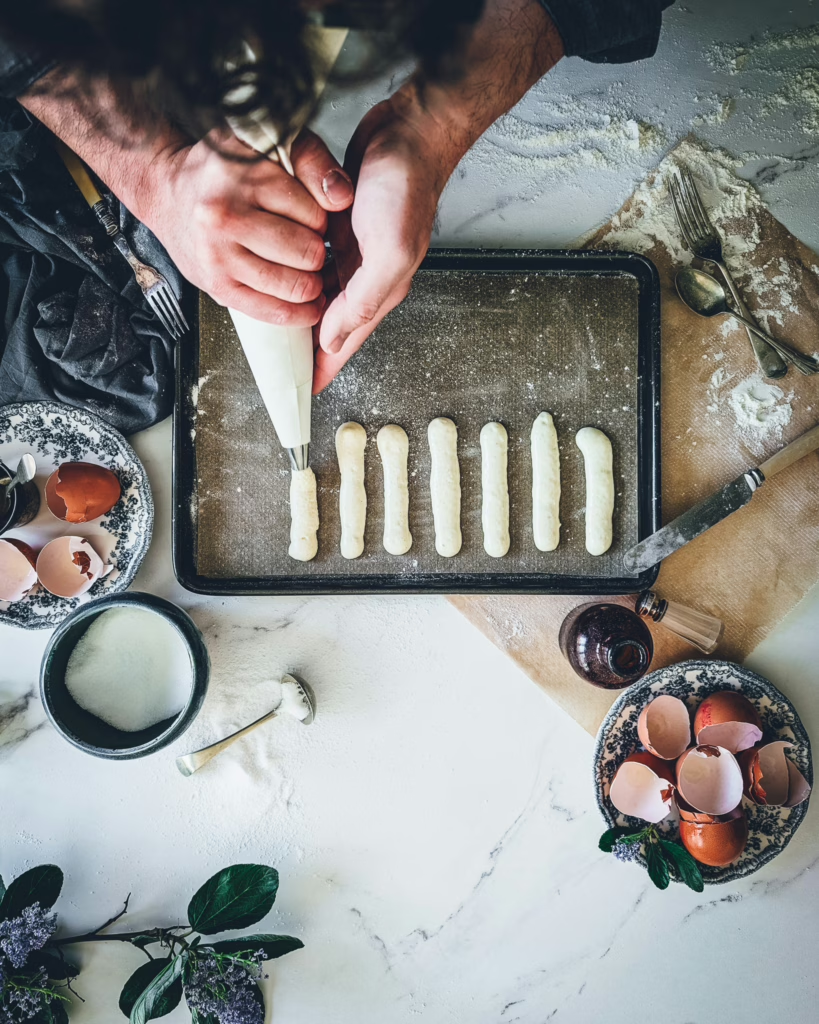

Why homemade savoiardi are worth it (with a little patience and practice)
Usually, we make our own savoiardi (and sometimes even our own mascarpone cheese).
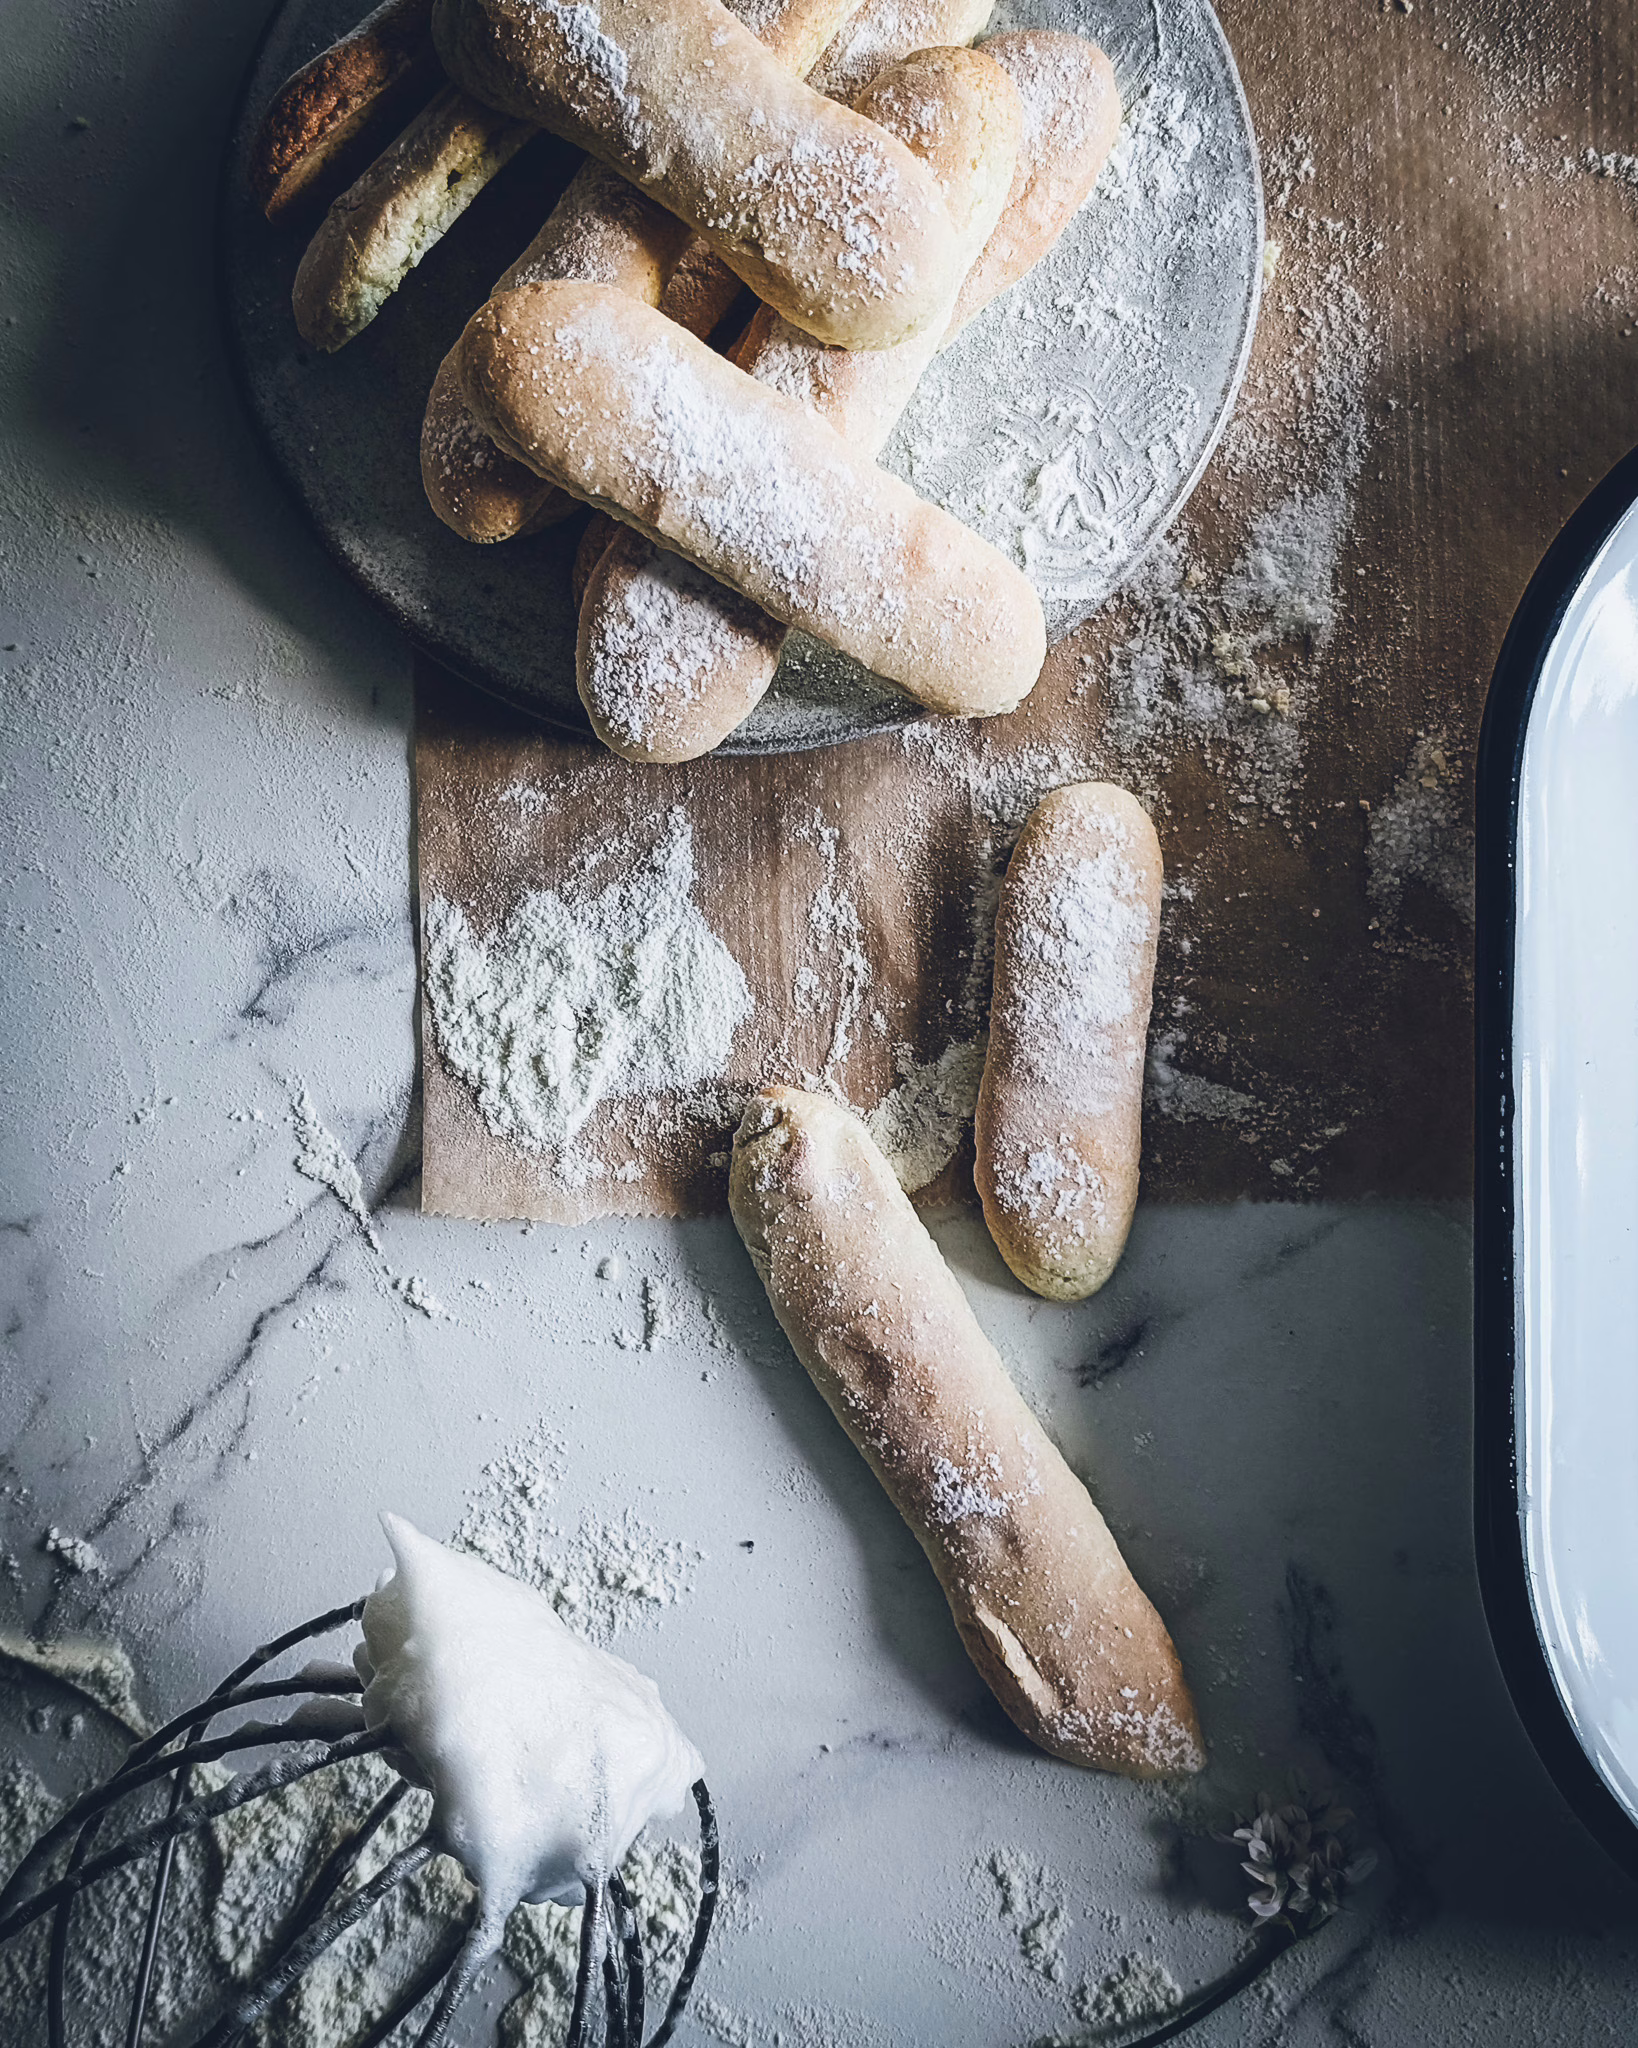
Not because it’s necessary — store-bought ones are absolutely fine — but because sometimes it’s worth slowing down and doing something from scratch simply for the pleasure of it. And because they taste so much better, and take tiramisù to the next level.
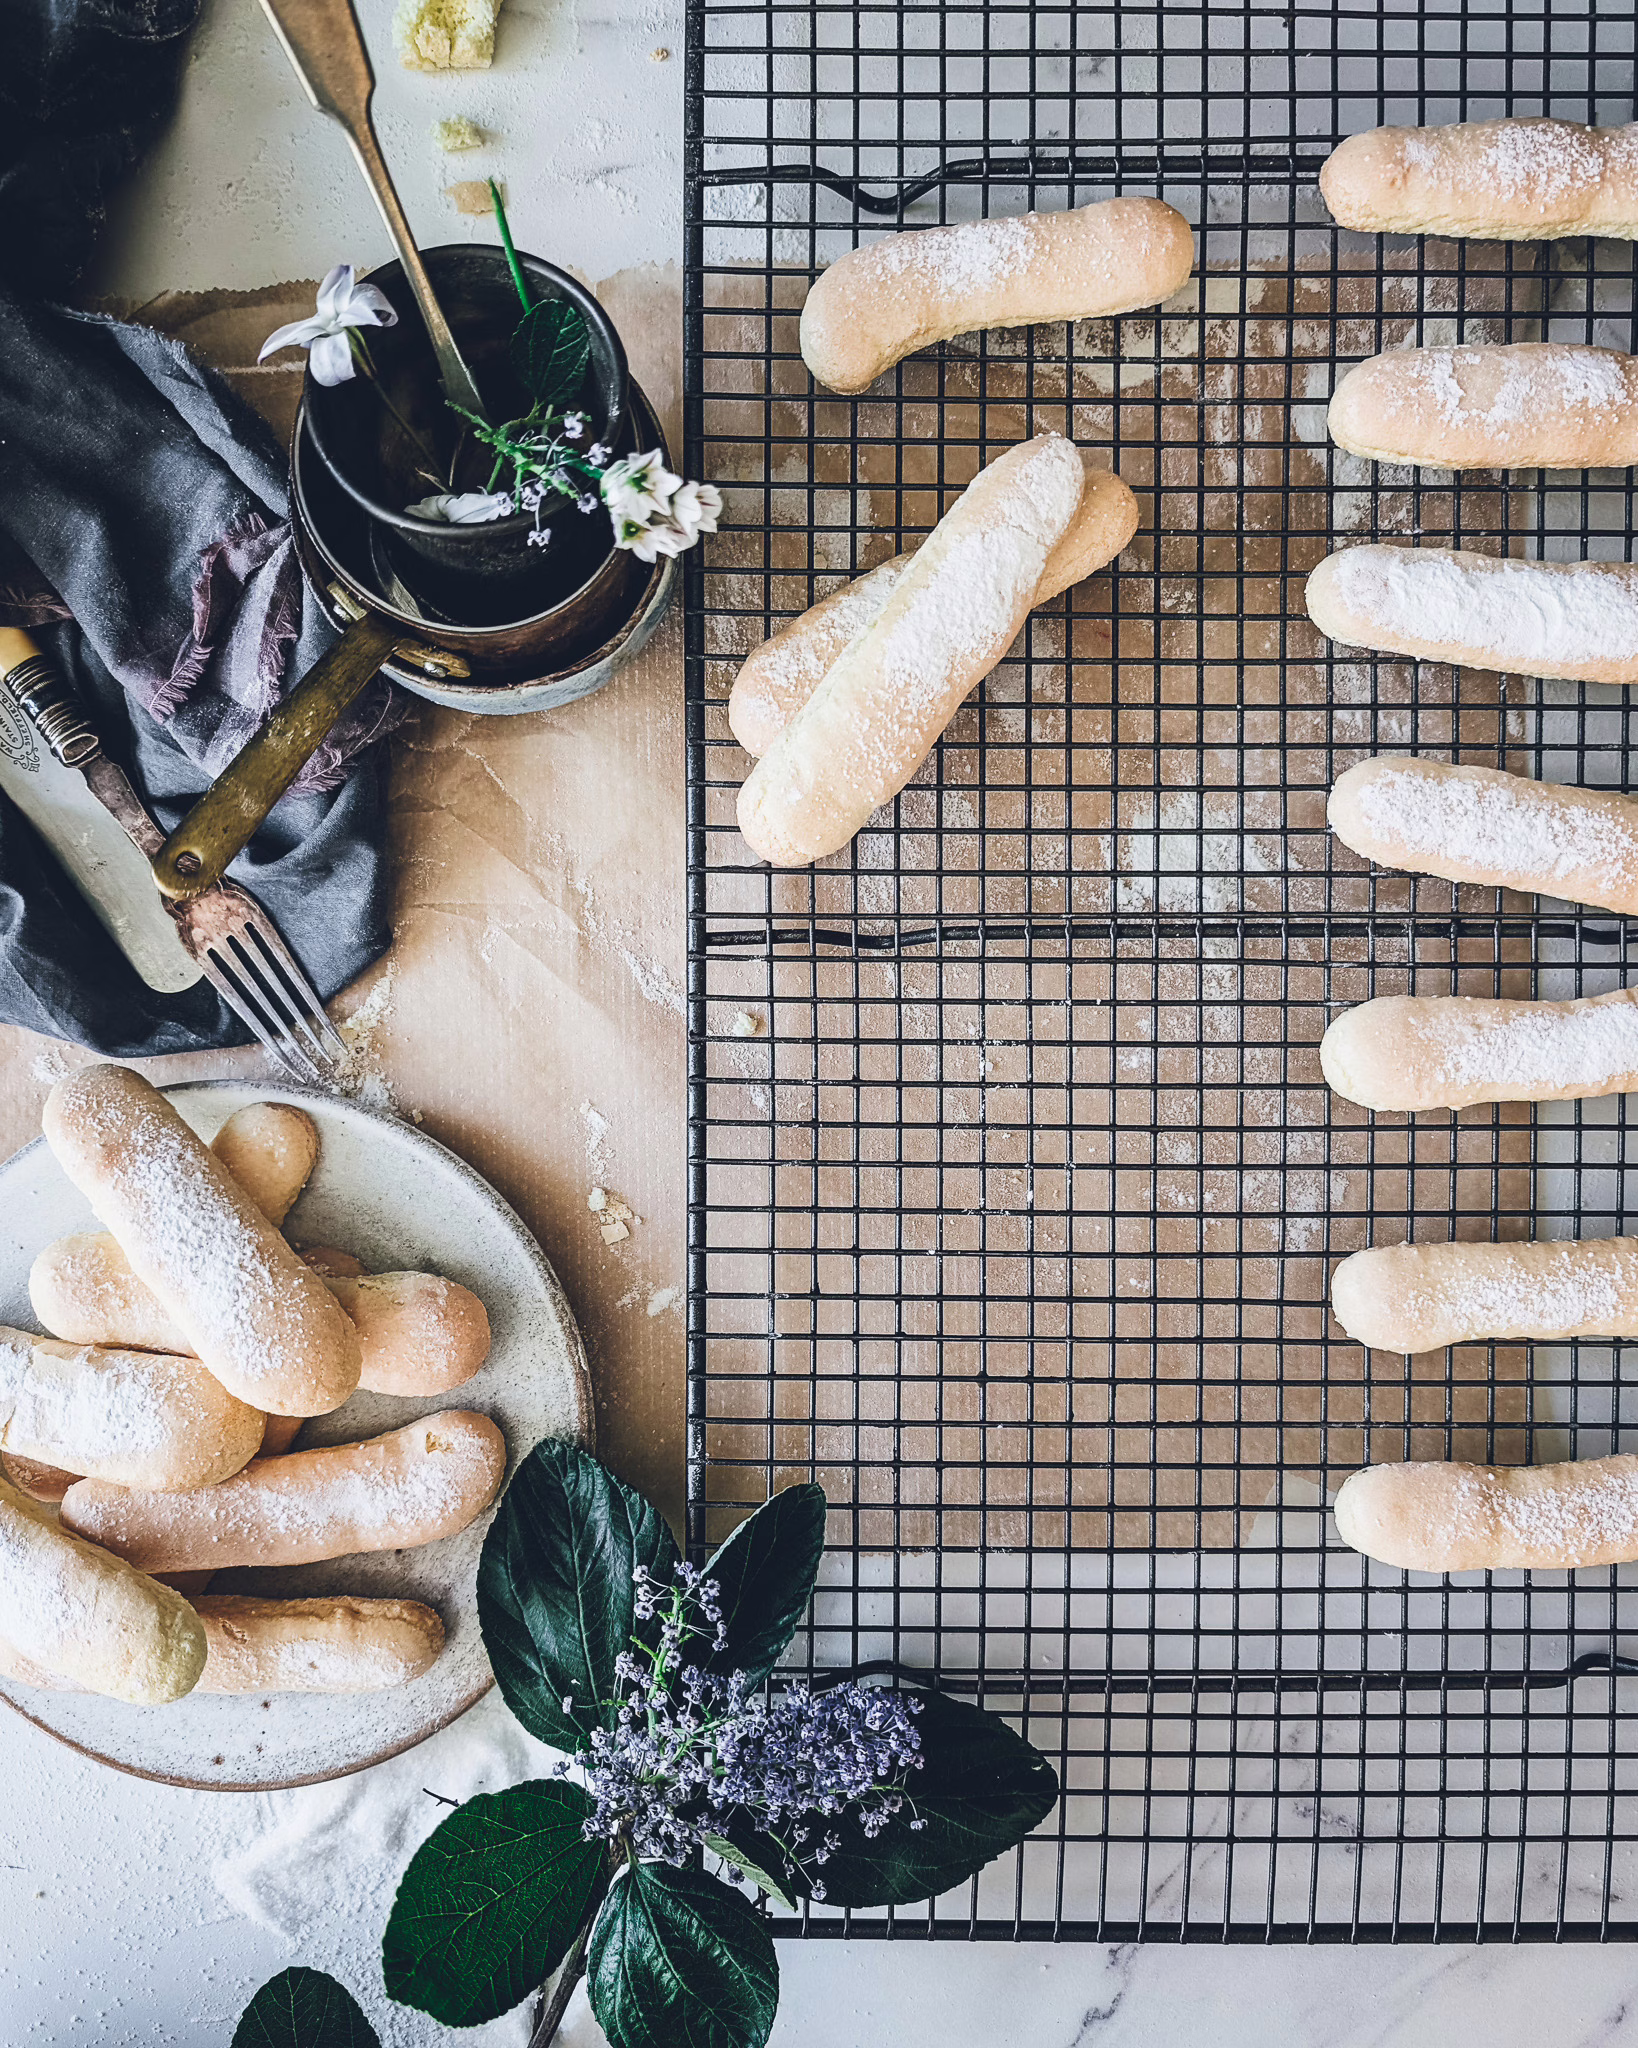
Making savoiardi is a small act of slow living. You whisk, you fold, you pipe, you wait. It’s meditative. And the result is extraordinary: lighter, more fragrant biscuits that soak up coffee more quickly than store-bought ones, transforming the whole dessert.
Recently, Fabio took it to the office, and even colleagues who don’t like tiramisù devoured it. One of them said it was the best they’d ever had. That’s the magic of homemade savoiardi — they elevate everything around them.
But we also know life is busy. If you don’t have the time, or simply don’t want to make them, store-bought savoiardi are perfectly fine. The recipe will still be wonderful. But if you can, try making them once. It’s a small investment with a big reward.
Tiramisu
For a 25 cm square tin
For the handmade ladyfingers (savoiardi)
- 100g plain flour
- 60g potato starch (for that signature light crunch)
- 100g egg yolks (approx. 6 large yolks)
- 70g caster sugar (for the yolks)
- 150g egg whites
- 65g caster sugar (for the meringue)
- Icing sugar, for dusting
For the coffee syrup
- 300ml strong espresso or moka coffee
- 40g caster sugar
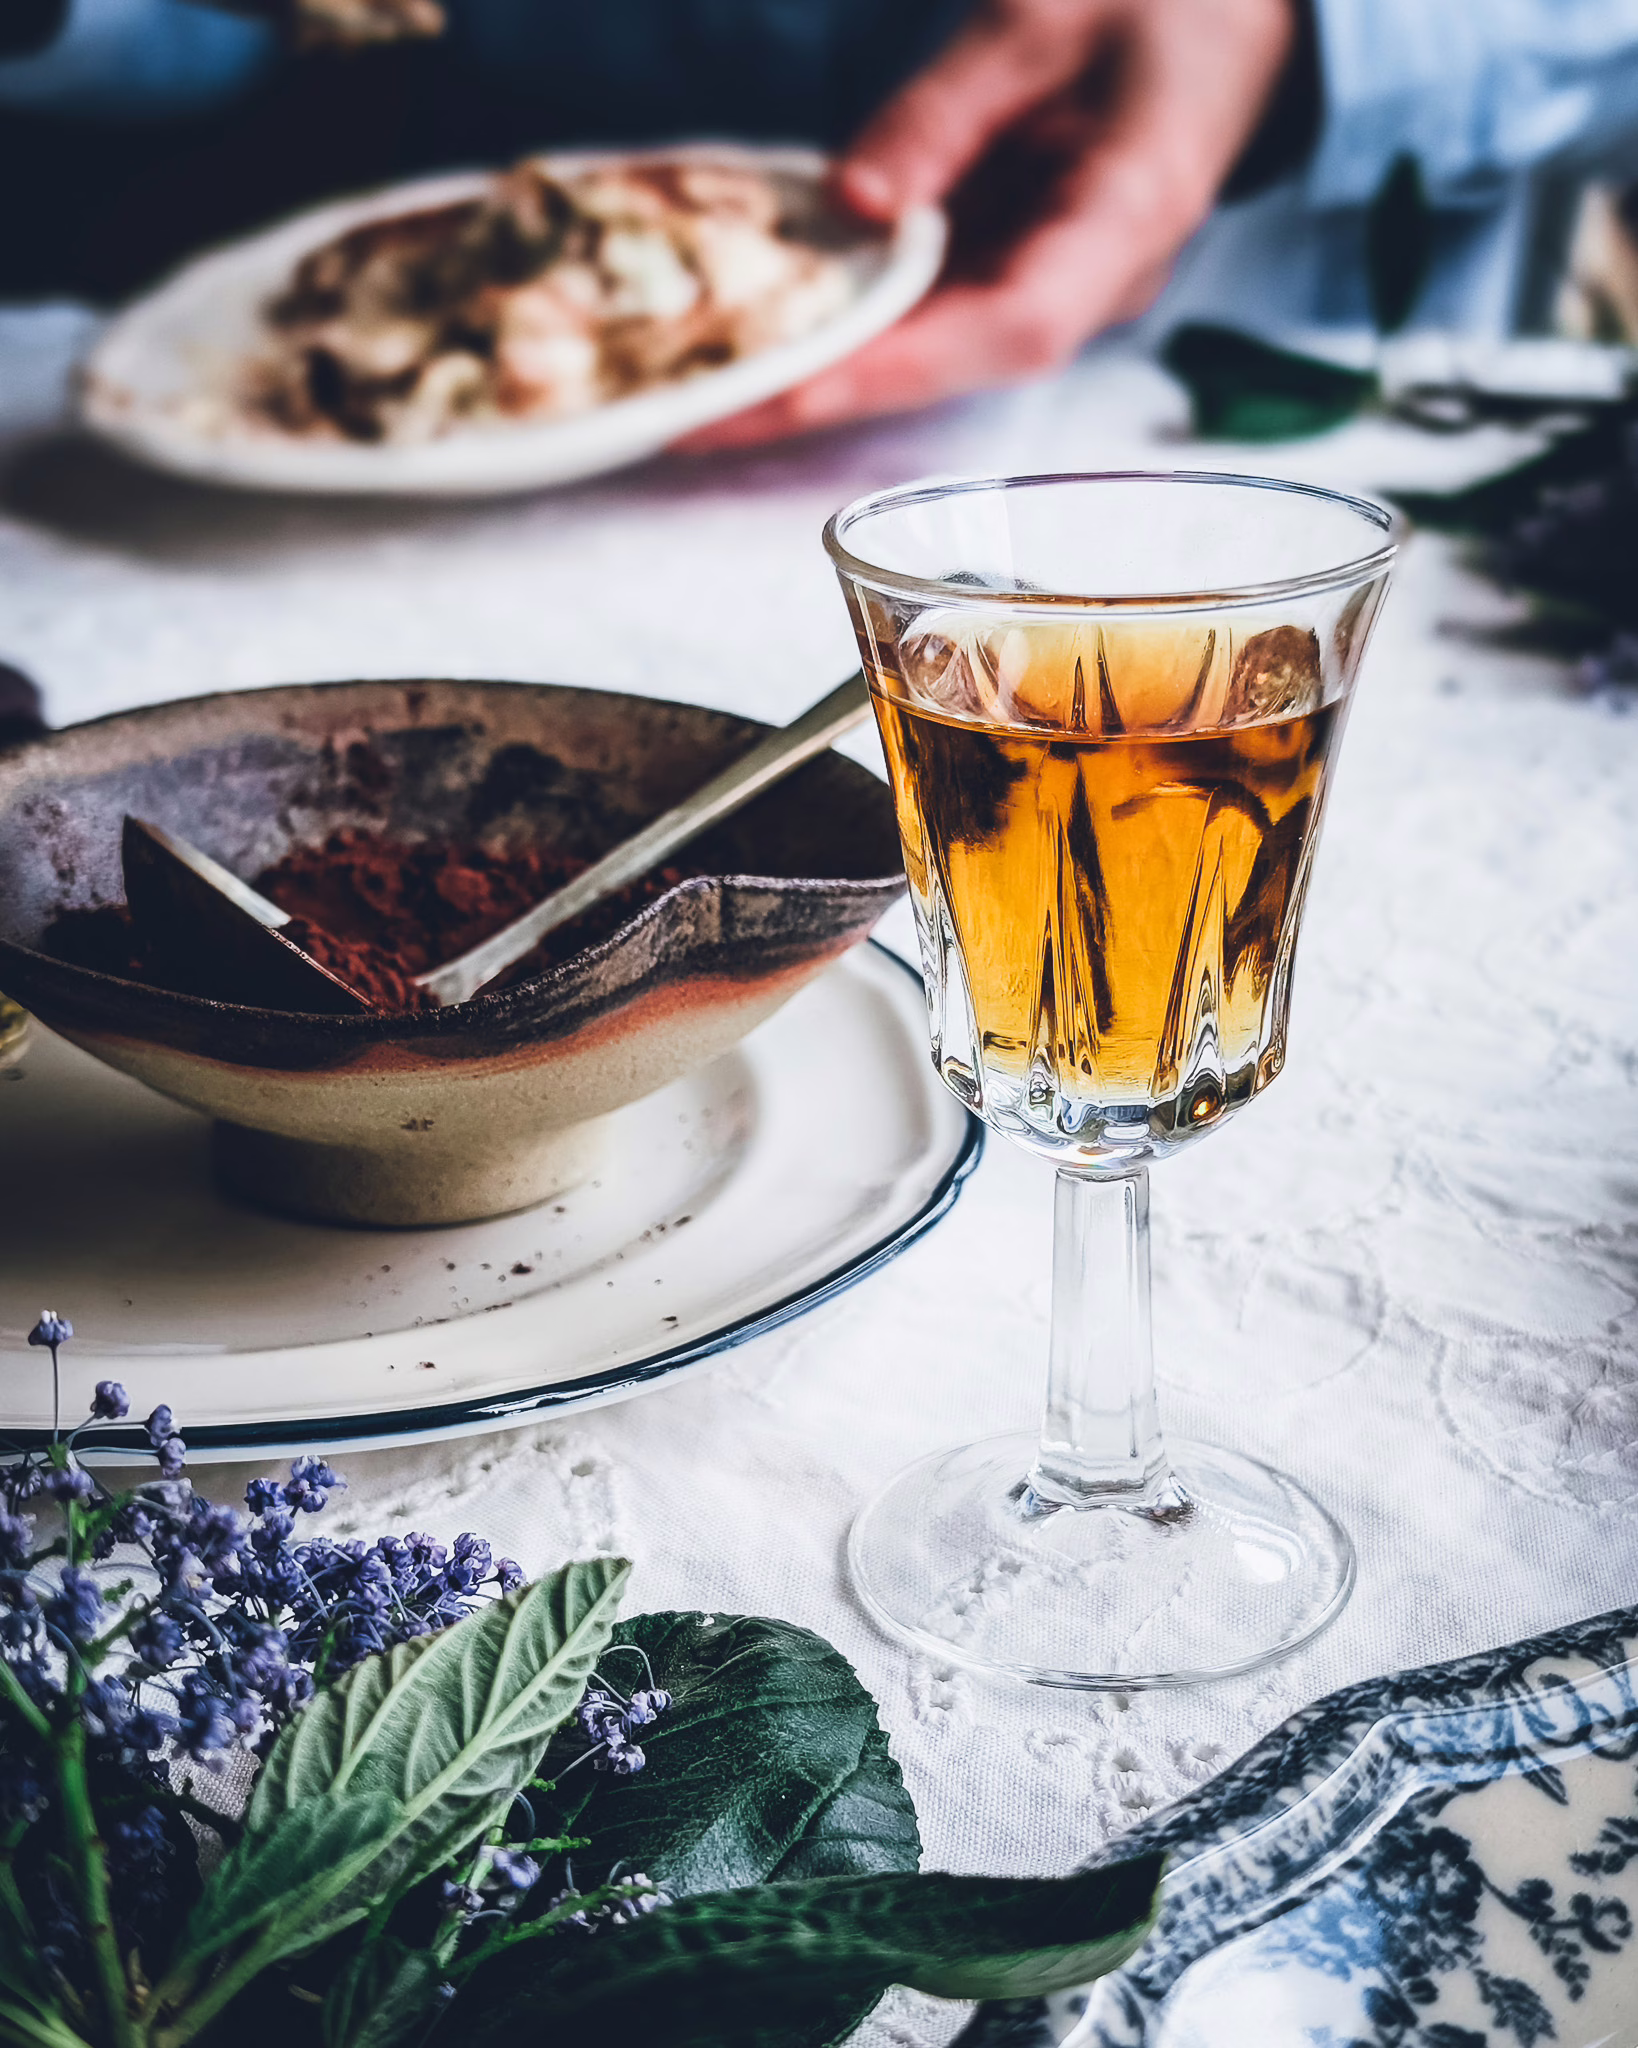
- 30ml marsala wine (optional, but recommended for a traditional depth)
For the mascarpone cream
- 500g mascarpone cheese
- 4 large eggs (yolks and whites separated)
- 120g (8 tbsp) caster sugar
Directions
Handmade ladyfingers
1. Prepare the base
Pre-heat the oven to 200°C / 180°C fan.
Combine the flour and potato starch, then sift through a fine sieve three times to ensure maximum aeration. Set aside.
Line two large baking sheets with parchment paper.
If you want uniform ladyfingers, use a pencil and ruler to draw parallel guide lines (about 10cm apart) on the parchment, then flip the paper over.
2. Whisk the yolks
Combine the egg yolks and sugar (70g) in a medium bowl.
Whisk with an electric mixer, gradually increasing the speed to high.
Continue until the mixture has quadrupled in size and is very stiff; it should fall from a spatula in thick “blobs.”
Place the bowl in the fridge to keep the structure stable while you work on the whites.
3. Prepare the French meringue
Clean your whisk and bowl thoroughly, wiping them with a little lemon juice or vinegar to ensure they are grease-free.
Pour the egg whites into a large bowl and whisk on low until a light foam forms.
Increase the speed to medium and add sugar (65g) one teaspoon at a time, waiting 30 seconds between additions.
Once all sugar is added, raise the speed to medium-high and whisk until stiff, glossy peaks form.
4. Fold the batter
Gently fold one-third of the meringue into the yolk mixture, using a spatula to keep the air trapped.
Sift in one-third of the flour mixture and continue folding gently.
Repeat the process in batches until the mixture is smooth, airy, and stable. Patience is key at this step to retain aeration so that your savoiardi won’t end up flat.
Transfer the batter to a large piping bag and refrigerate for 5–10 minutes to firm up.
5. Pipe and dust
Snip the tip of the piping bag to create a 1.5cm opening.
Pipe the mixture onto the parchment in logs about 8–10cm long, following your guide lines.
Promptly dust the logs with icing sugar. Wait two minutes for the sugar to settle, then dust a second time.
6. Bake with a secret
Place the trays in the oven for 12 to 15 minutes.
Prop the oven door slightly ajar using a wooden spoon or a small ball of foil; this allows steam to escape so the biscuits dry properly.
Bake until they reach a pale gold color.
Remove from the oven and allow to cool completely on the trays before peeling them off the parchment.
Coffee syrup
1. Make the syrup
Brew the coffee, add the sugar and stir until completely dissolved, then add the Marsala wine (if using) and stir again. Leave to cool completely.
Mascarpone cream
1. Make the mascarpone and egg base
Take the mascarpone out of the fridge 10 minutes before starting.
In a medium metal or glass bowl, whisk the egg yolks and sugar with an electric whisk (or stand mixer). Begin on low, then increase to medium, whisking until the mixture becomes pale and fluffy.
Add the mascarpone and whisk on medium–low just until the cream is smooth and thick. Stop as soon as the lumps disappear and the cream becomes thicker — over‑whipping will make it runny. Chill the cream in the fridge.
2. Whip the egg whites
Wash the whisk thoroughly, then wipe it with kitchen paper and a little lemon juice to remove any traces of fat.
In a clean bowl, whisk the egg whites to medium peaks. They should hold their shape when the bowl is tipped but still look glossy, not dry.
3. Combine the mixtures
Fold a third of the egg whites into the mascarpone cream to loosen it. Add the remaining whites slowly, folding gently from the bottom up to keep as much air as possible.
Cover the cream with cling film or transfer it to a piping bag, and refrigerate until ready to use.
Assembling the tiramisu
1. Start the base
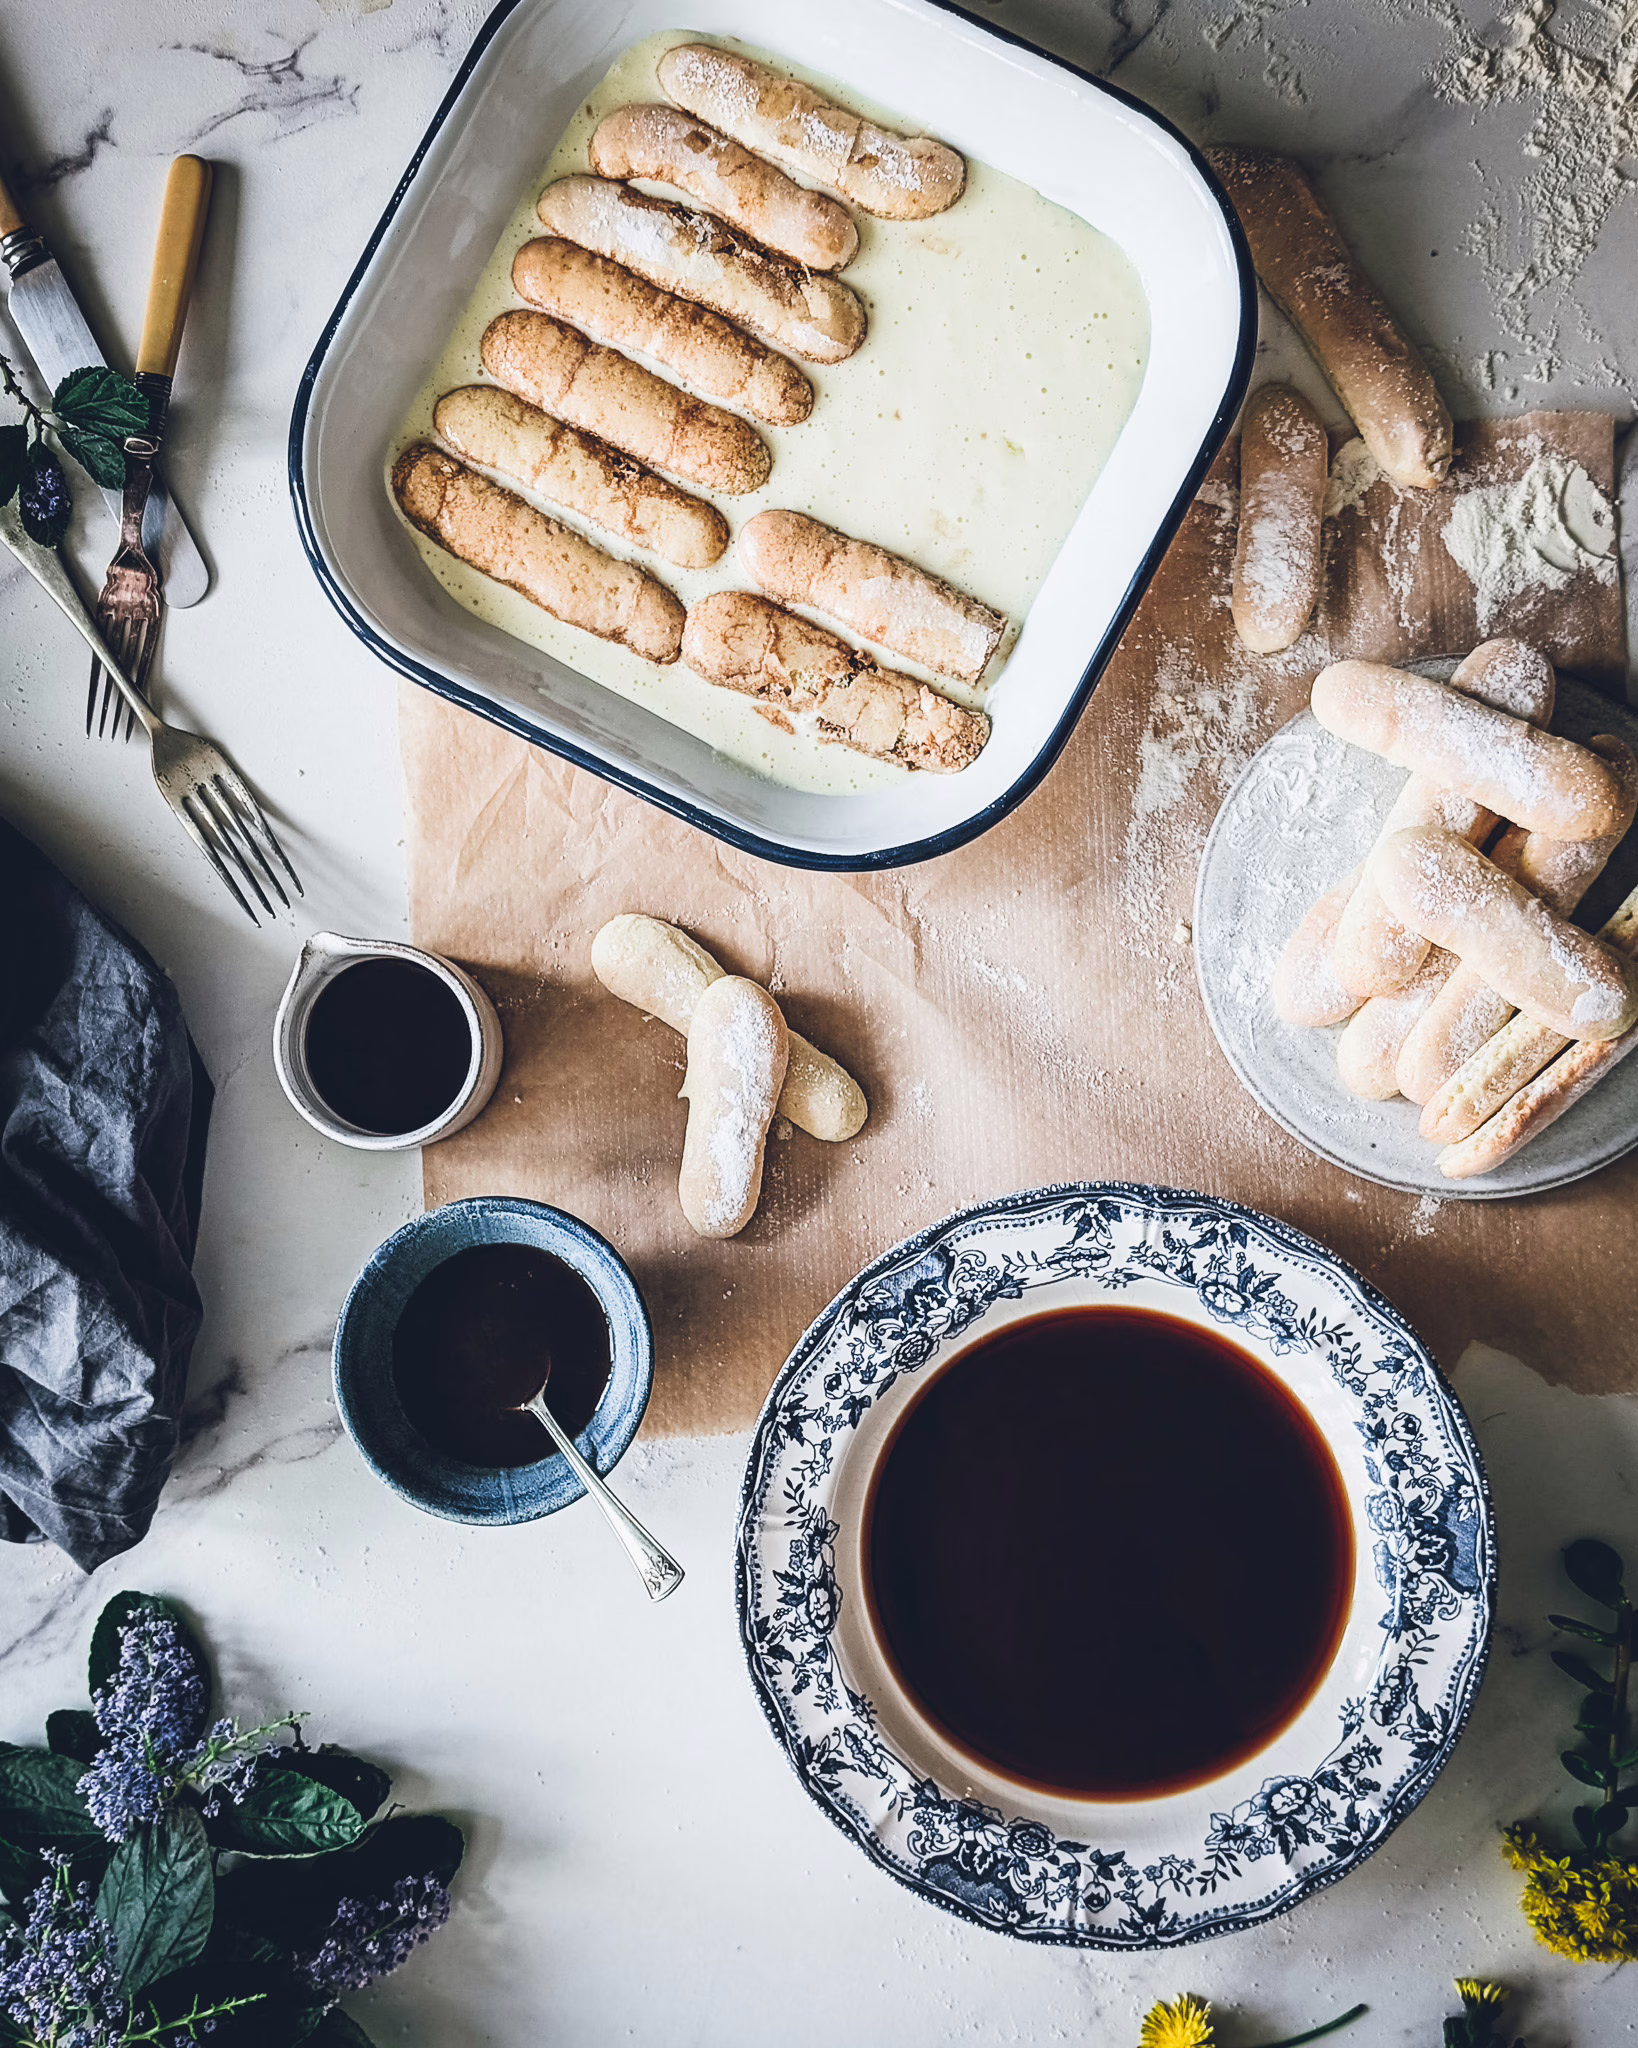
Spread or pipe a thin layer of mascarpone cream over the bottom of your glasses or tray. It doesn’t need to be perfect — this is just the foundation.
2. Dip and layer the savoiardi, alternating with cream
Pour the coffee syrup into a shallow, wide dish. With homemade savoiardi, dip each biscuit very quickly — about one second is enough, as they absorb liquid fast. If using store‑bought, give them a slightly longer dip so they’re soaked almost through but still hold their shape. They will continue softening once lifted from the coffee.
Arrange a layer of soaked savoiardi in your container, trimming them if needed so they fit neatly. Top with a generous layer of mascarpone cream — roughly the same thickness as the savoiardi — and continue alternating layers until you reach the rim.
3. Chill the tiramisu
Smooth the top, cover with cling film, and refrigerate for at least 4 hours, ideally overnight. This resting time allows the texture to settle and the flavours to come together.
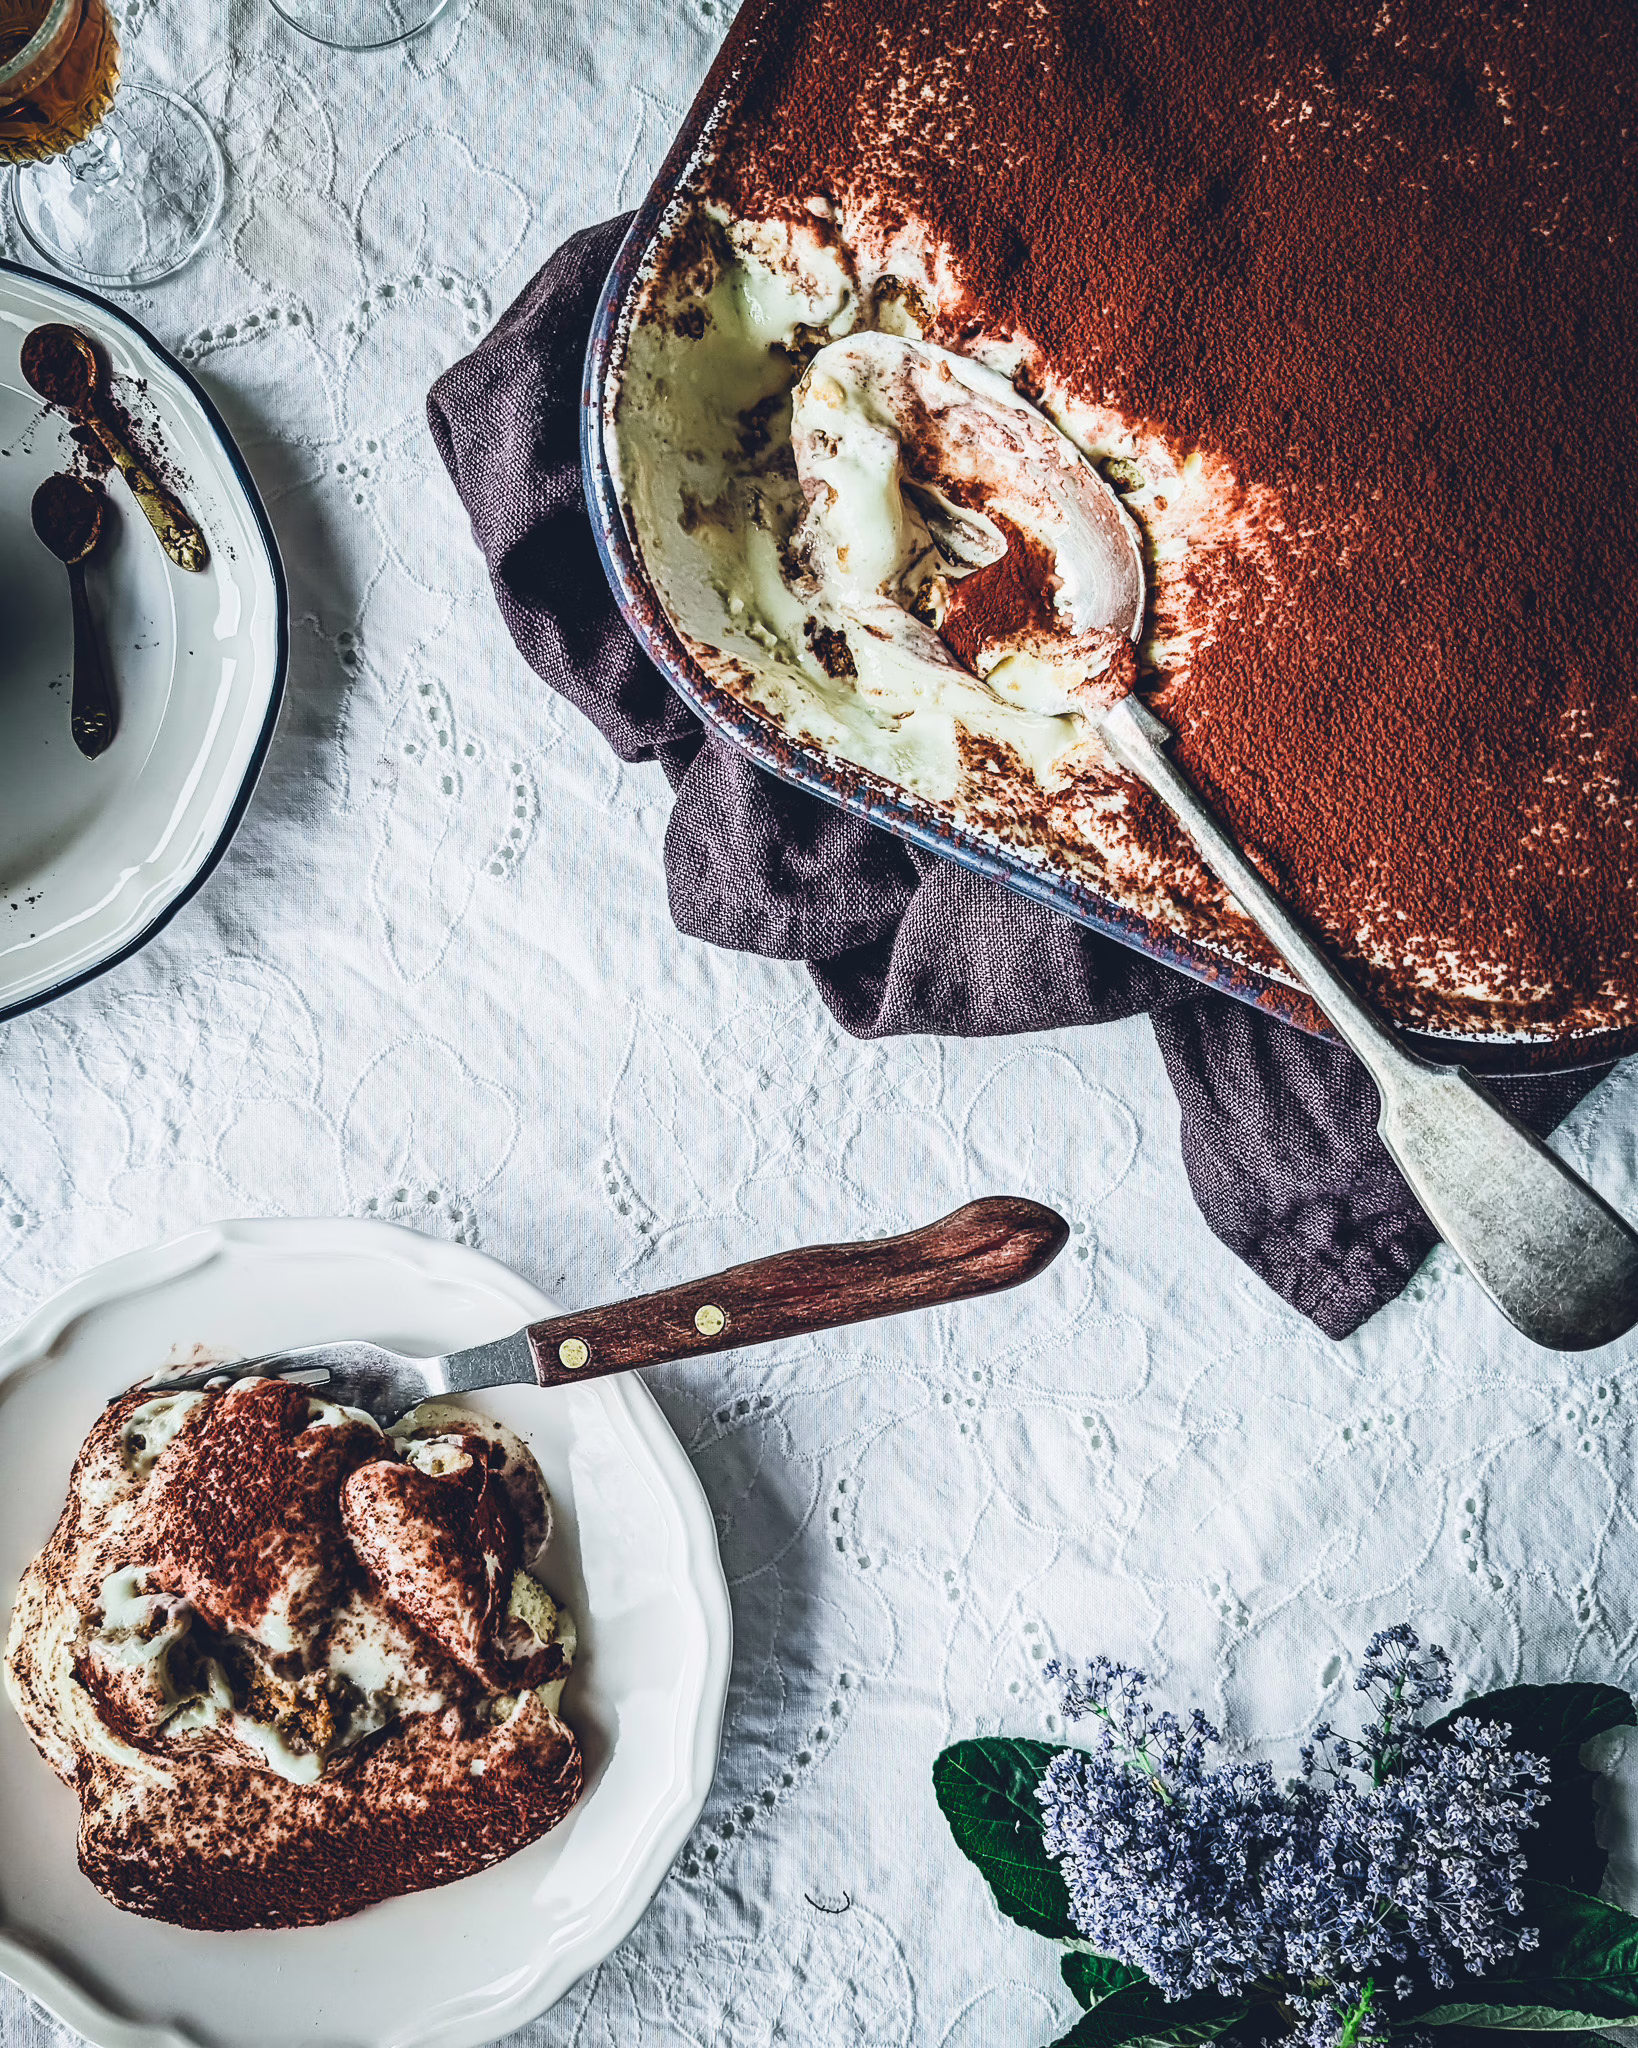
4. Finish and serve
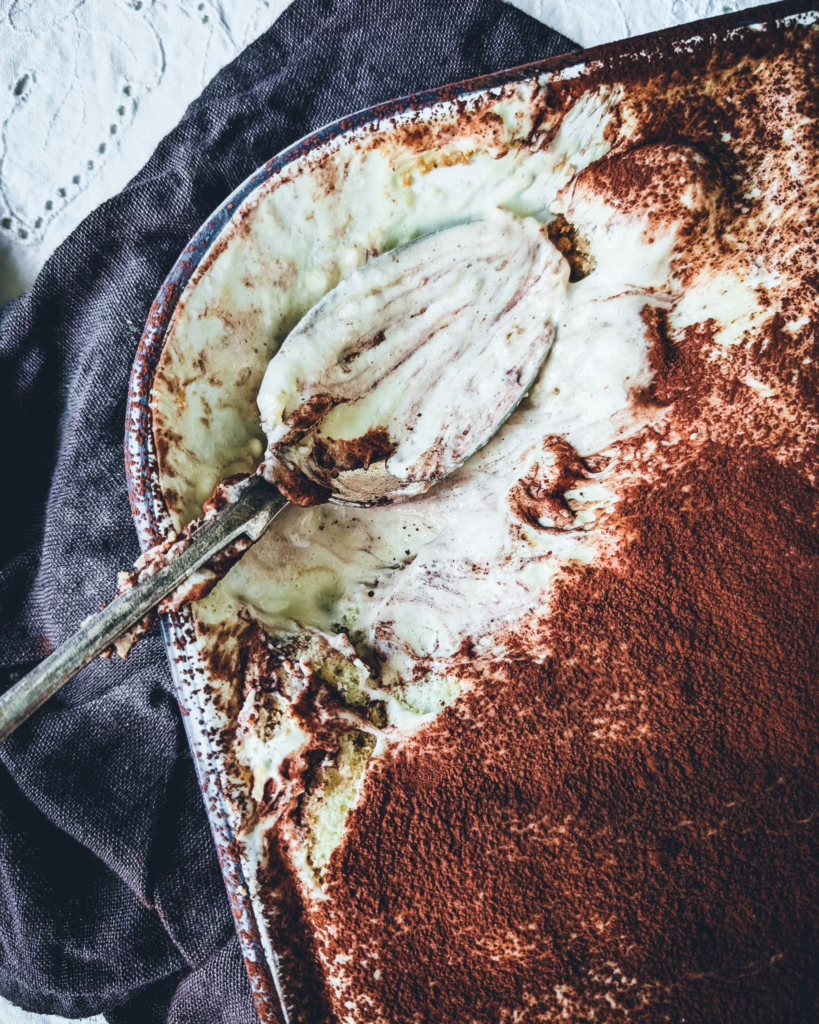
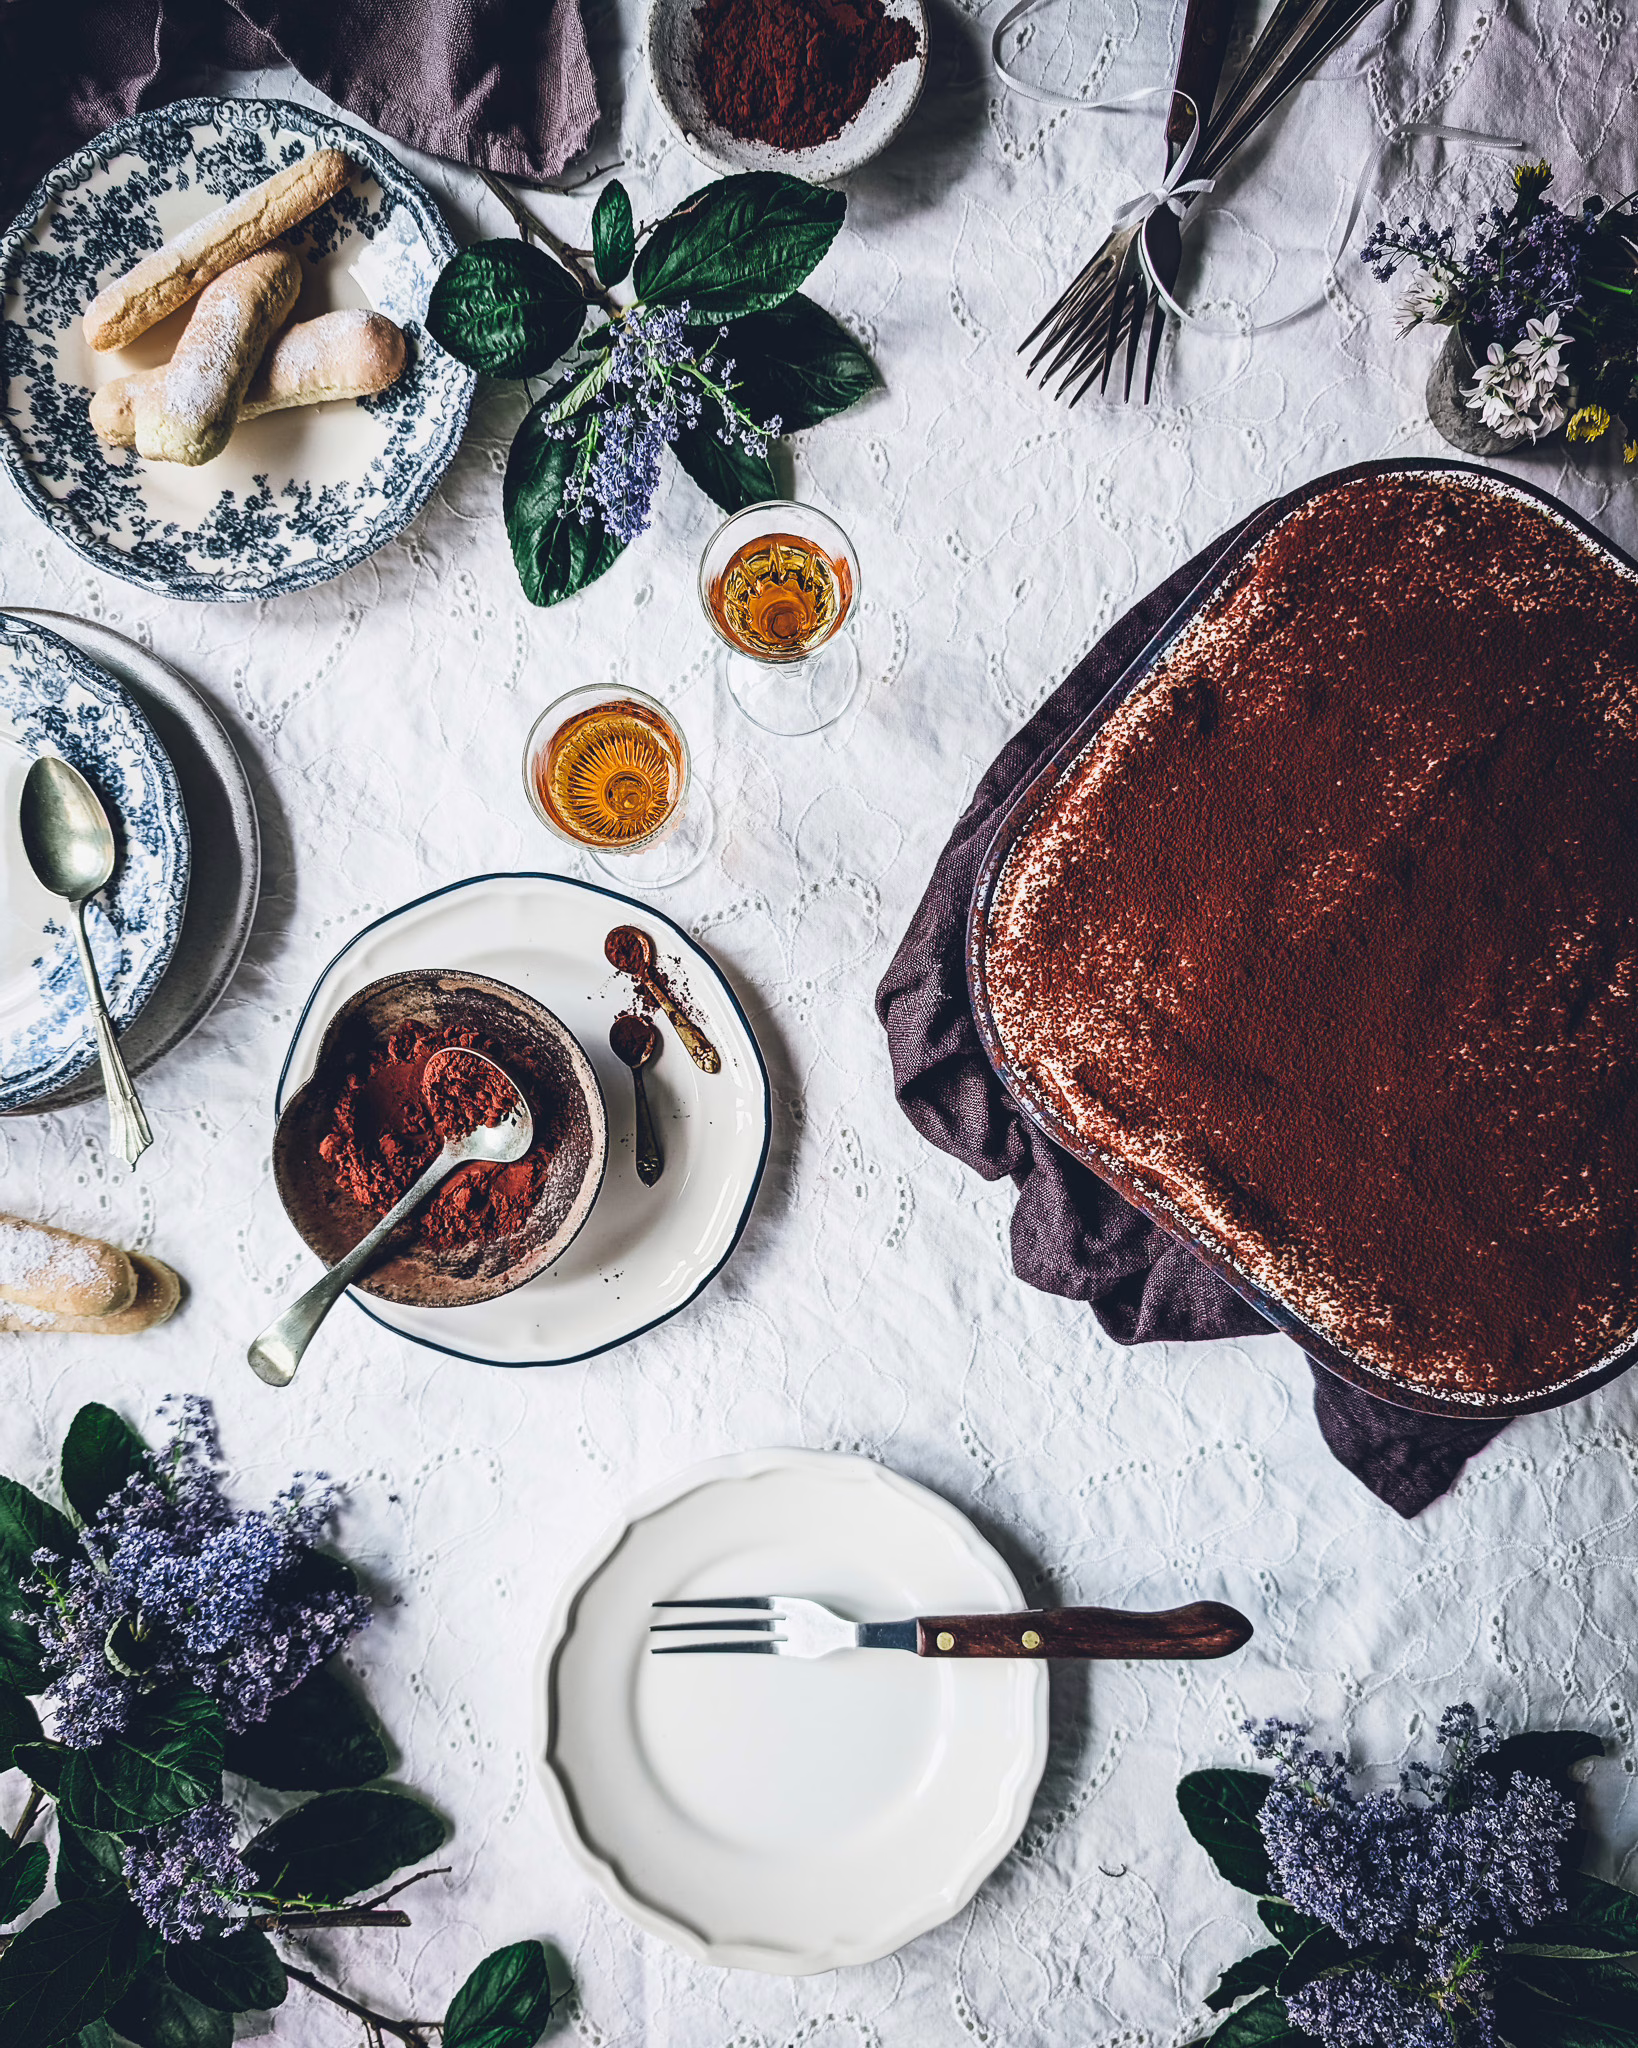
When ready to serve, uncover and dust the surface with a generous layer of cocoa powder.
Serve immediately while the cocoa is still dry and velvety.
Share this recipe:
Other recipes you may like